

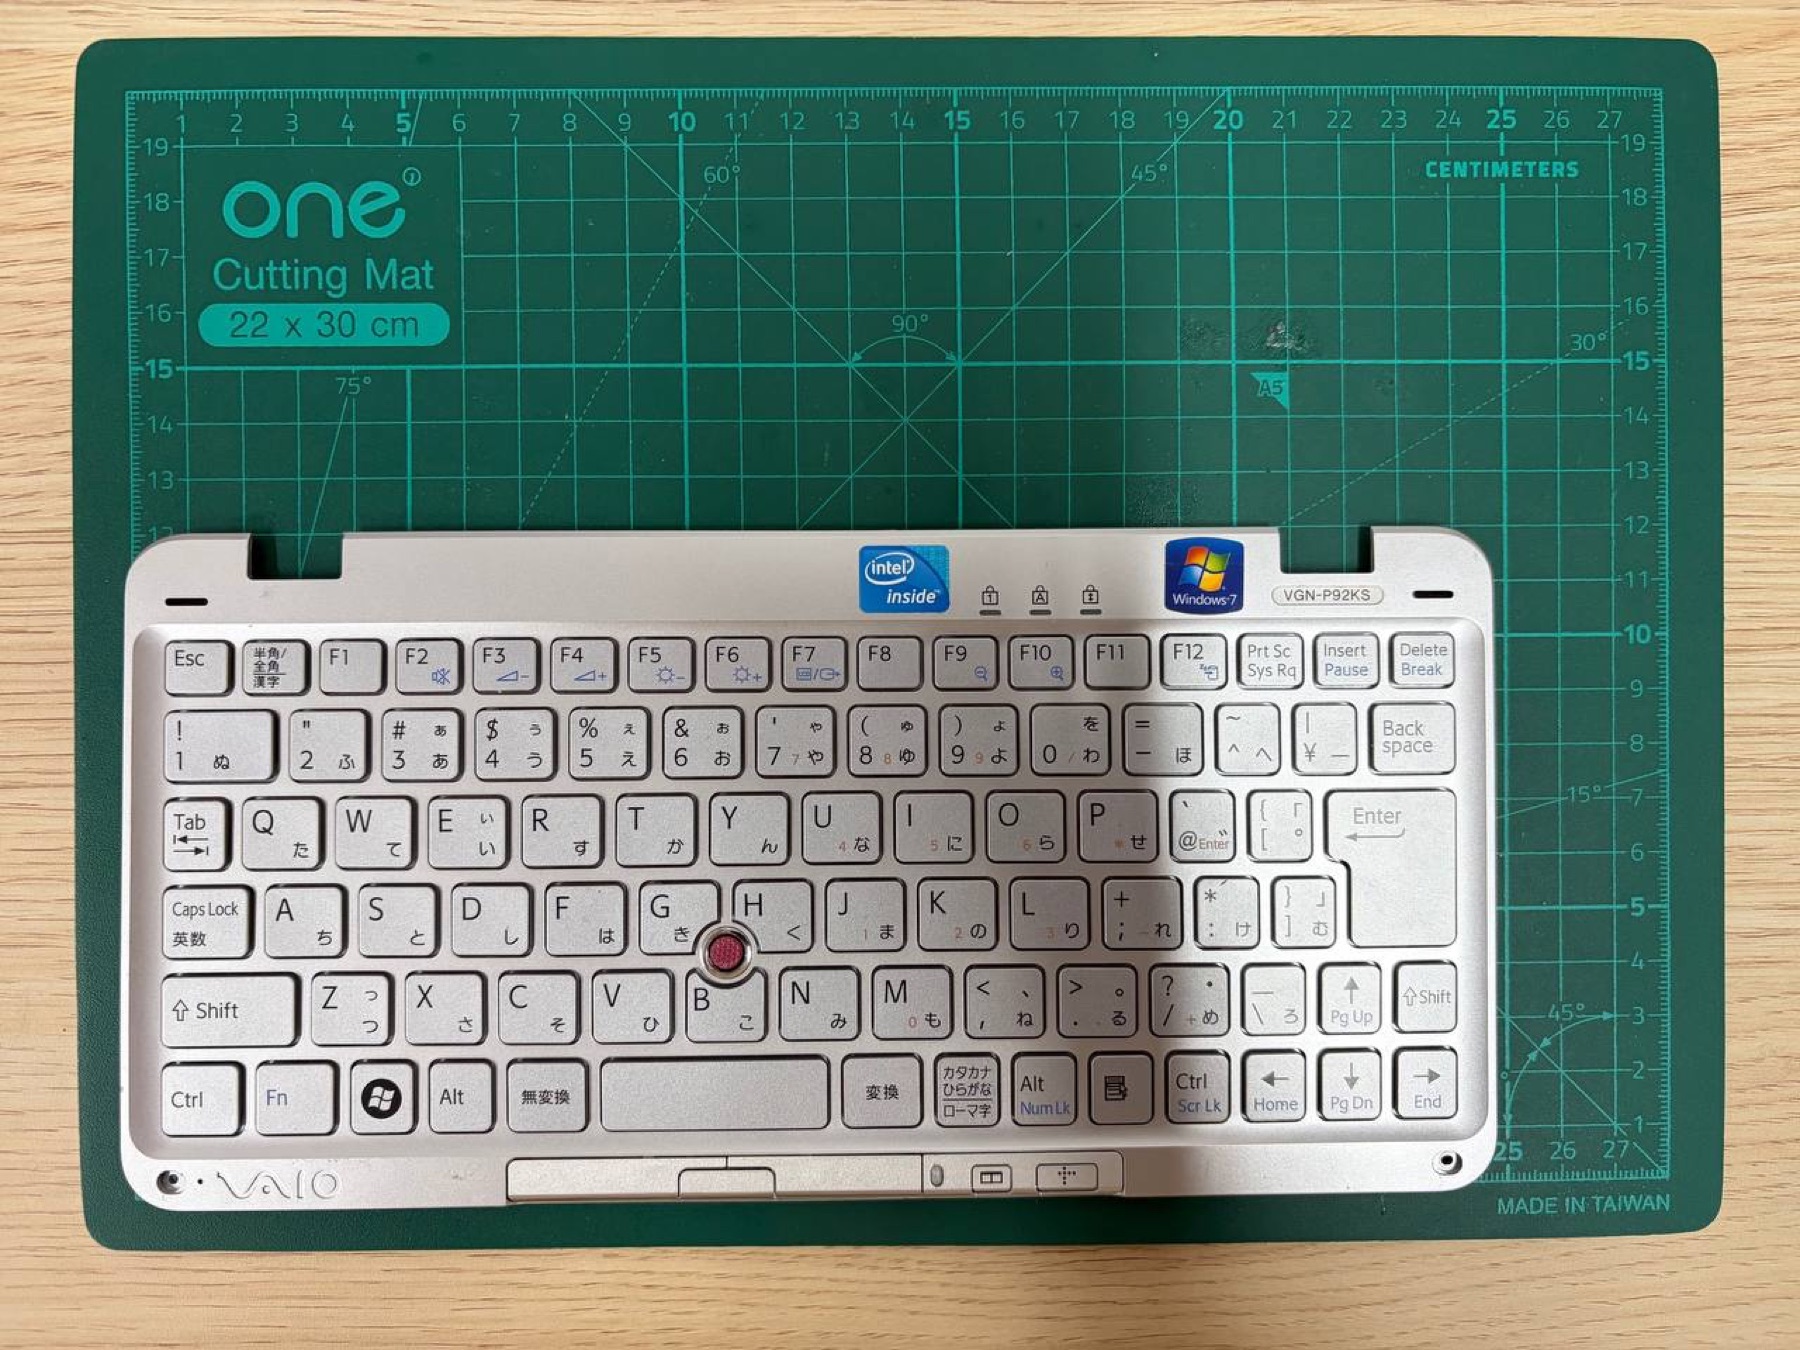
The keyboard is the part you touch every time you use the machine, so keeping it matters as much as keeping the shell. A replacement keyboard might be easier, but it would immediately make the result feel less like a VAIO P.
Our goal is to make the original keyboard appear to the CM5 as an ordinary USB device.
Connector problem
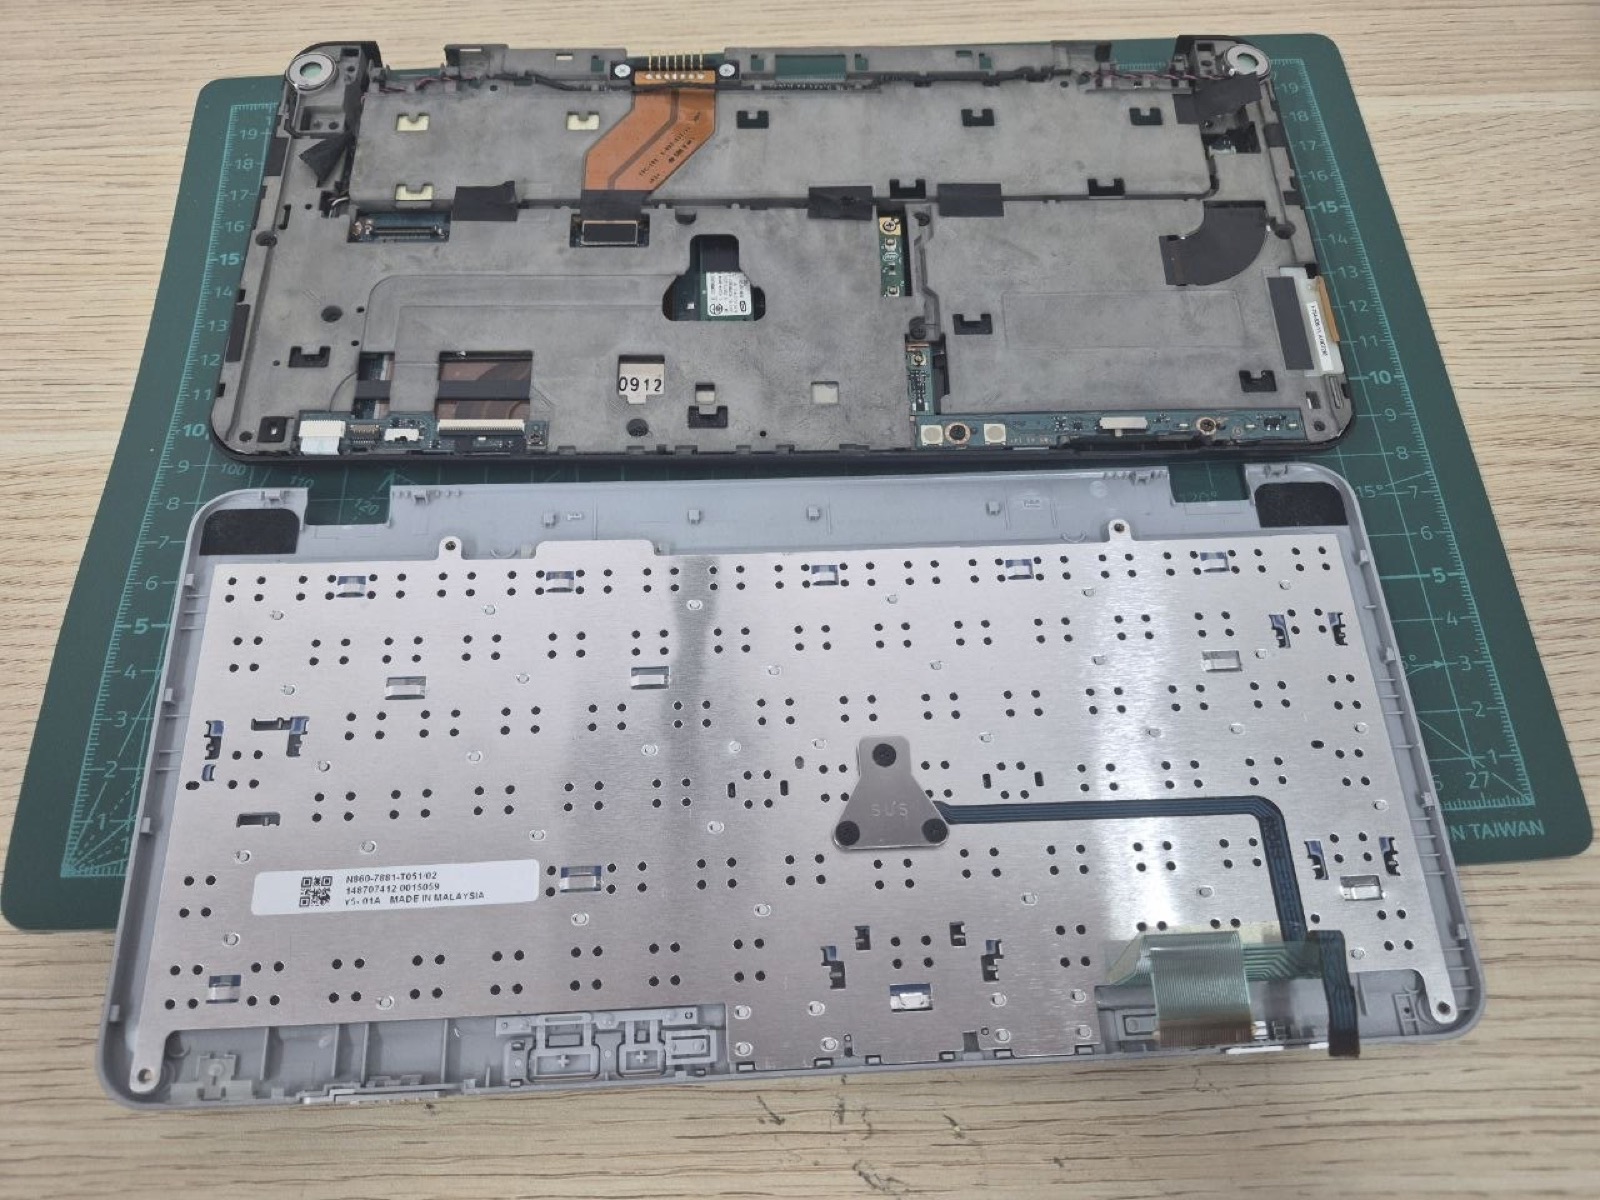
The keyboard cable ends in a 50-pin, 0.4 mm pitch connector that mates with a Panasonic AXK750147G-style socket. It is far too fine for jumper wires or a breadboard.
So the first PCB is deliberately simple: a breakout that will
- hold the original connector securely
- fan all 50 lines out to test points or 0.1-inch headers
- let us trace the matrix with a multimeter
- protect the original cable while we probe it
It is not the final controller. It is the tool that makes the keyboard understandable.
Matrix scanning
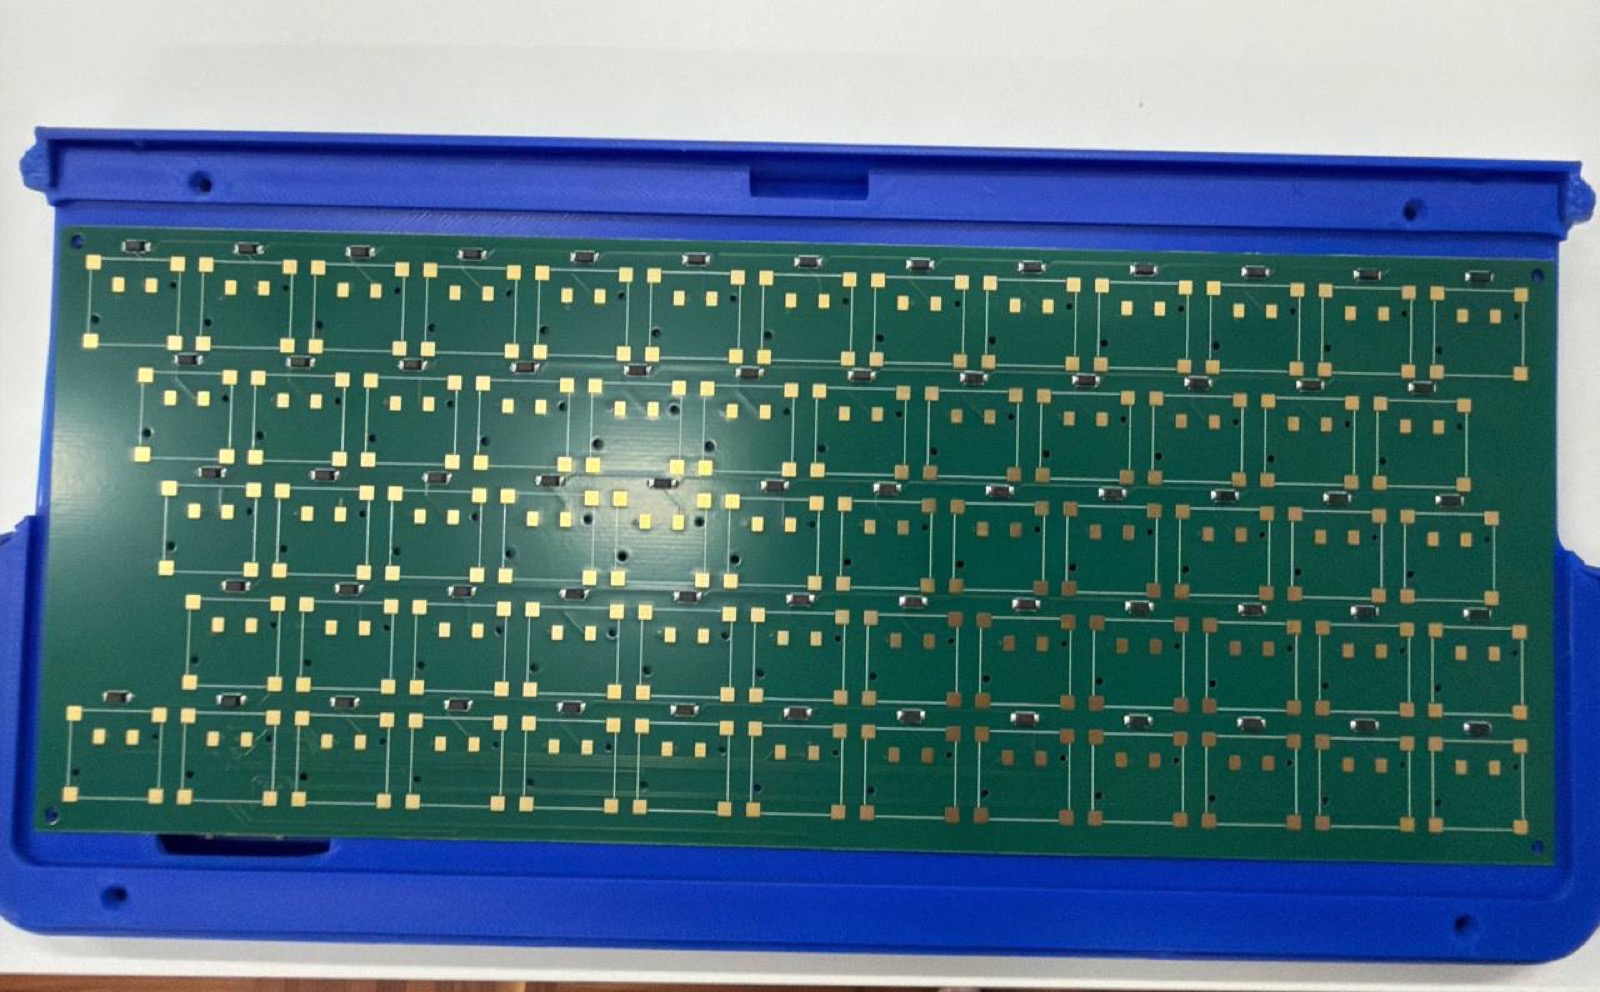
The current controller plan is an RP2040 running CircuitPython and KMK. It will scan the VAIO P matrix and report the keys as standard USB HID input.
That keeps the CM5 side simple and lets the original keyboard behave like a normal peripheral.
Bring-up checklist
Before connecting the keyboard controller to the CM5, the keyboard side should be tested by itself:
- inspect the connector under magnification
- check for solder bridges
- map rows and columns with a multimeter
- confirm every key closes the expected matrix connection
- test a minimal KMK firmware build
- verify USB HID output on another computer
Pointing stick
The pointing stick deserves its own bring-up step. It is part of the VAIO P experience, but mixing it into the first keyboard test would make debugging both systems harder.
We will prove the key matrix first, then decide whether the pointing stick belongs on the same RP2040 or on a separate interface.